
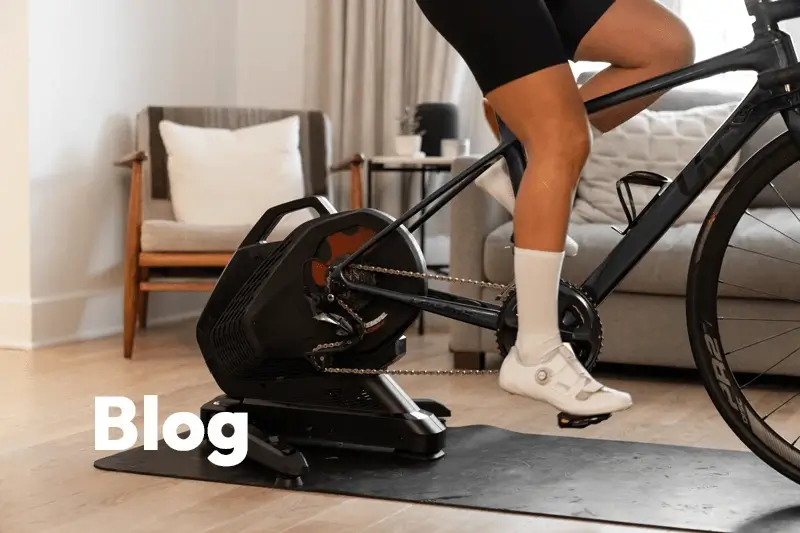


How to Fit your Kickr Bike
Congratulations on your new Wahoo Kickr Bike purchase! If you’re wondering about the first thing to do, after assembling it of course, it’s time to set up your fit on the bike. MyVelofit is the perfect option for an accurate, quick, and convenient bike fit. MyVeloFit uses motion analysis and cutting edge A.I. to analyze your dynamic position on the bike and make recommendations to guide you to your ideal cycling position. In just a handful of steps, we’ll have you training comfortably in no time. Let’s walk through how to do a bike fit on your new Kickr bike with MyVeloFit!

MyVeloFit’s four steps to a better ride.
Step 1: Determine your Current “Fit” Measurements
Your “fit measurements” refers to a handful of measurements on your bike (for example, saddle height) that determine your riding position. If you already know your current fit measurements or don’t have a bike you’re looking to replicate you can skip this step. Otherwise, get your measuring tape, something to take notes with, and head head over to your bike. We are going to take a few measurements on your bike that we will transfer over to your Kickr bike. Here is the list of the measurements and information you will need:
- Saddle Height
- Saddle Setback
- Handlebar Reach
- Handlebar Drop
- Crankarm Length
Have a read through our “4 Bike Measurements Every Rider Needs” blog post to walk you through how to take these measurements. The crank arm length will be written on the back side of the crank arm.
Step 2: Adjust the Kickr Bike
The Wahoo Kickr Bike has a wide range of adjustability in all of the key spots. Let’s walk through how we are going to make the adjustments on the bike.
2.1: Install Pedals
- Install pedals in the designated crank length hole with the corresponding number from the crank arm length on your outdoor bike. You can typically find your crank arm length imprinted on the back of the crank arm, just beside the threads for the pedal.

Install pedals in the correct crank length option.
2.2: Adjust Standover Height
- Standover height is mainly a safety precaution, but an important one. Adjust the standover height to give a minimum of 1.5 inches of clearance between the “top tube” and yourself while standing over it.
- The Kickr bike’s standover settings are from A (lowest) to H (highest) and the available saddle height ranges within each are as follows:
- A: 660mm – 830mm
- B: 670mm – 840mm
- C: 680mm – 850mm
- D: 690mm – 860mm
- E: 770mm – 870mm
- F: 710mm – 880mm
- G: 720mm – 890mm
- H: 730mm – 900mm

Adjust the bike’s standover height.
2.3: Adjust Saddle Setback
- Using the saddle setback number from your outdoor bike, adjust the saddle rearwards to match the same horizontal distance from the bottom bracket to the marking on your saddle.
- You may need to adjust the fore/aft on the saddle to be 100% precise.

Adjust the saddle setback.
2.4: Adjust Saddle Height
- If you are using the same saddle on your Kickr bike as your outdoor bike, mark where you’re measuring to on the saddle with a piece of tape. This will help ensure you measure to the same spot each time.
- Using the reference number from your outdoor bike, adjust the saddle height to be the same distance from the centre of the crank arm spindle, to the marking on your saddle, as your outdoor bike.

Adjust the saddle height to measured height.
2.5: Adjust Handlebar Stack
- Using the grip drop number from your outdoor bike, adjust the handlebar stack (height) to match the same vertical height difference between the saddle and handlebar height.
- This adjustment may need slight tweaking in tandem with the handlebar reach adjustment.

Adjust the bike’s stack height.
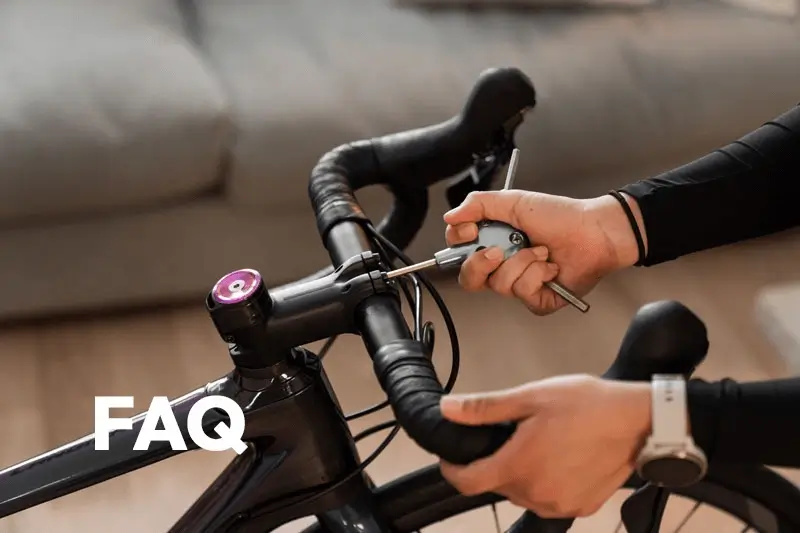
2.6: Adjust Handlebar Reach
- Using the handlebar reach number from your outdoor bike, adjust the handlebar reach to match the same horizontal distance from the saddle to the place you grip your handlebars.
- This adjustment may need slight tweaking in tandem with the handlebar stack adjustment.

Adjust the bike’s reach to mirror your reach measurement.
Step 3: Connect to Wahoo App
If you haven’t done so yet, it’s time to connect the bike to the Wahoo app on your device. You will need to use the app to update and have resistance on the bike while you ride.
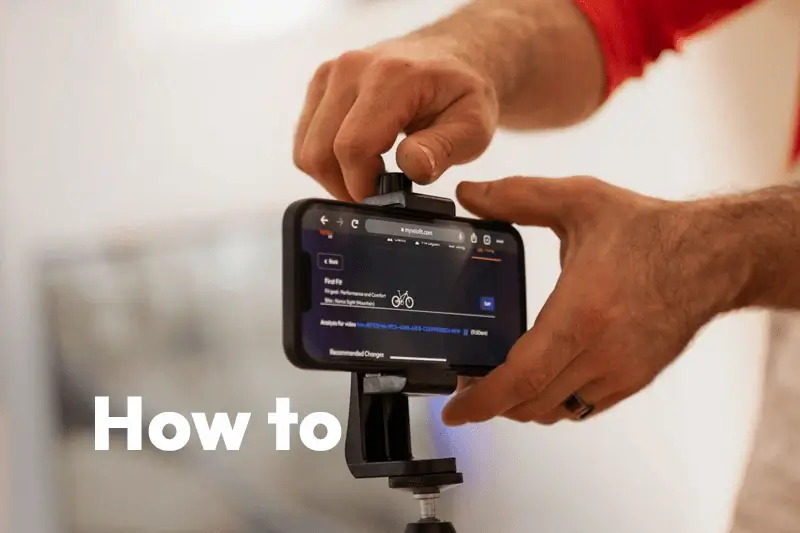
Step 4: MyVeloFit Analysis
It’s time to open up MyVeloFit and get ready for the fun part! We are going to record a 15 second clip pedalling on the bike and use MyVeloFit’s motion analysis to get insights into our position and determine whether the bike fit is set up correctly.

Make sure your camera placement captures all of you and the bike.
Set up your camera of choice at the height of your saddle and far enough away that you and the entire Kickr Bike is in the frame. Your phone camera works just fine, but we also have a built-in web camera feature with an adjustable timer and audio cues to give you plenty of time to get on the bike. Press record and film yourself riding for 15 seconds in a normal riding position looking straight ahead. If you are using your phone camera, trim it down to 10-15 seconds of just pedalling on the bike. Upload your video to MyVeloFit and in a couple minutes you’ll have your results!
If more in depth instructions would be helpful, check out our guide to recording your first video.
Step 5: Make Adjustments
Following the results from MyVeloFit, make any necessary adjustments to the Kickr Bike based on the results received. Since we used the measurements from your outdoor bike, the position should be fairly close. If there are no recommendations from MyVeloFit, you’re good to go. If there are recommendations, make the adjustments on the Kickr Bike, film another video, and upload to MyVeloFit again to ensure the position is accurate.

Analyze your fit report and make recommended adjustments.
Time to Ride!
And that’s it! You’re all set with a comfortable position on your new Kickr Bike and ready for indoor training. Enjoy the ride!