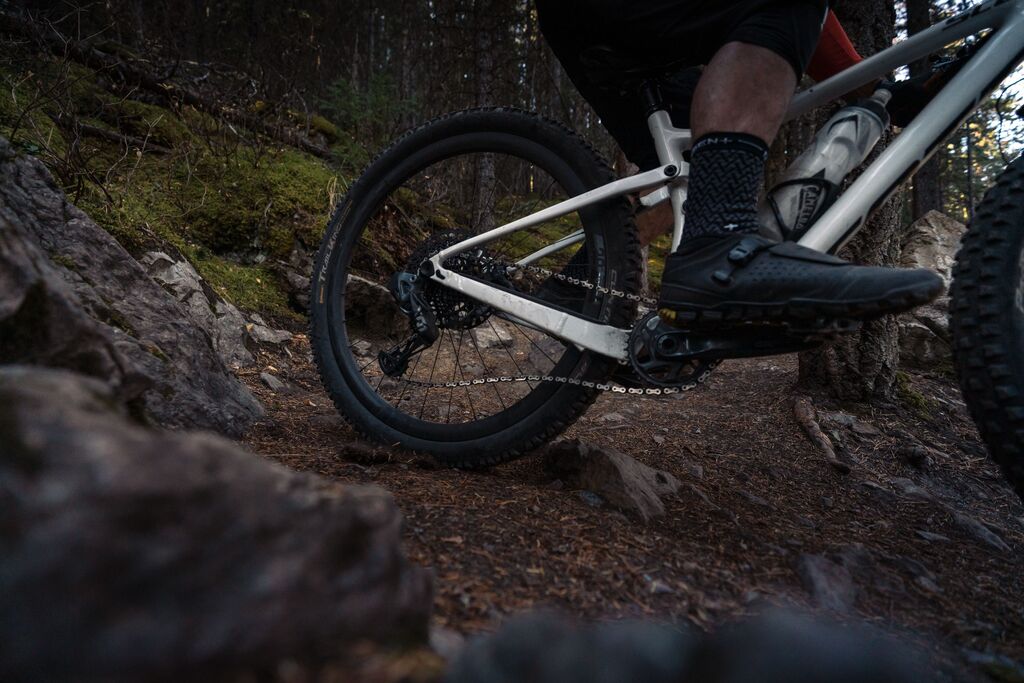
Mountain Bike Fit And Set Up, It’s Clear As Mud…
By Ryan Draper
Dialling in a modern MTB requires a combination of knowledge and testing.
Context is Everything
- Why are you getting a bike fit?
- Where do you mainly ride?
- What’s your favorite trail?
- What does your bike currently do well?
- What do you wish your bike did better?
- How many times a week do you ride?
- What are your main concerns?
- Does any part of your set up cause you pain or discomfort?
- What are your current and future expectations for your riding?
- Do you ride for fun, fitness, the rush, the climbs, to drop or jump?
- Any injuries current or past that haunt you?
Bike Fit and Setup: Order Matters
- Cleat position (if clipped in)
- Set bike ride height (for flip chip equipped frames)
- Saddle position
- Saddle height
- Saddle tilt
- Saddle Fore-aft
- Then reach is assessed and corrected if need be
- Bar width is set
- This is important and very individual (680-780 range is most common)
- Saddle to bar drop is assessed and changes made (via bar height)

The key areas of setup should be done in a methodical order. My approach is as follows:
- Assess wheel size, tire width, rubber compound and tire pressure front and rear.
- Rear shock setup:
- Air pressure, rebound, high and low speed compression (if applicable). Air can tokens/spacers and rebound knob clocking can be discussed for their next suspension servicing
- Front fork setup
- Air pressure, rebound, high and low speed compression (if applicable). Tokens/volume spacers can also be discussed, added or removed.
- Cockpit setup
- This is critical and often overlooked. Brake lever reach, and placement along with proper placement of dropper post and shift levers can be a huge distortion to a rider or even cause hand and finger pain.
The best way to put all this knowledge together is through trial and error. A good bike fitter will often take decades to more fully understand all these relationships. You can start and further your understanding by simply becoming aware that there are so many cause and effect relationships in a bike’s fit and setup.
Suspension Setup Tips & Tricks
- As a general rule of thumb manufacturers guidelines for PSI in suspension forks are a bit too high and rear shocks a bit too low.
- Set rebound on front and rear suspension a bit faster than normal to compensate for softer tires, soft rubber compounds and big wheel diameters. This quicker rebound setup allows for the bike to feel lighter and livelier going both up and down hill.
Ryan Draper
Ryan Draper is the CEO of Cycling 101 and a professional bike fitter, coach, instructor and guide based in Canmore, Alberta. He has spent the last 25 years helping athletes of all skill levels to dial in their bikes for the best experience possible.
-
This author does not have any more posts.
Ready to get started?
Athletes from around the world use MyVeloFit to improve their cycling position.
Whether you are a veteran or new to the sport, MyVeloFit can help you improve your position.


