
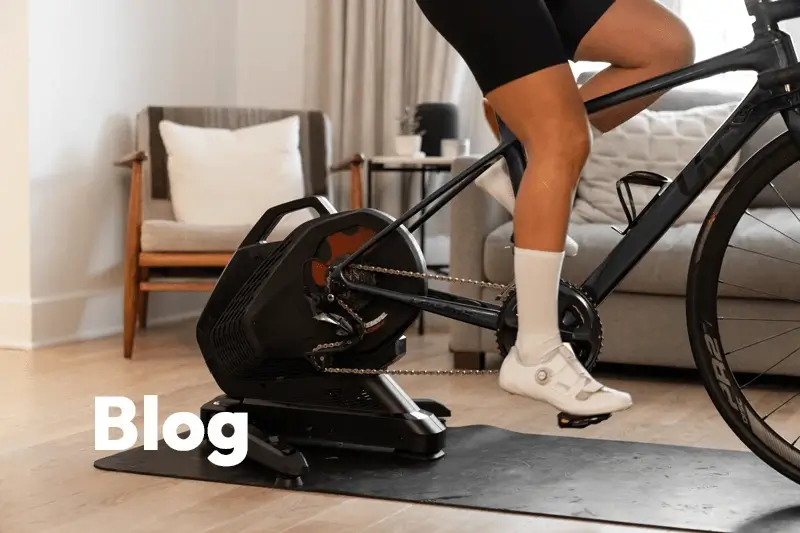


Dial in Your Saddle Height for a Pain-Free, Efficient Ride
Combine Our Data-Driven Approach with Your Body’s Unique Needs to Find the Perfect Seat Position

Why Saddle Height and Position Matter More Than You Think
Your saddle is more than just a place to sit—it’s the foundation of your riding position. Set it too high, and you risk hip rocking, overextended legs, and potential knee pain. Too low, and you’ll find yourself cramped, struggling to produce power, or experiencing premature fatigue.
The mistake many riders make is relying on a single formula or a generic “ideal” measurement. The reality? There’s no universal saddle height because every cyclist is different. Your flexibility, leg length, riding discipline, and even the shape of your saddle all impact how high or low your saddle should be.
At MyVeloFit, we take the guesswork out of the equation. Our AI-driven fit process helps you refine your saddle height dynamically, ensuring your position is optimized for comfort, efficiency, and long-term performance.


A Comprehensive Approach to Setting Saddle Height
Many riders have heard of saddle height formulas, like the classic inseam × 0.883 rule. While these formulas offer a rough starting point, they fail to consider critical factors like flexibility, riding discipline, and individual biomechanics. A truly optimized fit requires an iterative process—making small, deliberate changes and assessing how your body responds.
The Seat Height Myth
- No Single Magic Number: Two riders with identical inseams may have completely different ideal saddle heights due to differences in hip mobility, pedaling technique, or even crank length.
- Iterative Adjustments: Small, incremental tweaks give your body time to adapt and allow you to assess whether a change improves efficiency or just feels different.
- Continual Feedback: Your saddle height shouldn’t be static. Fitness, flexibility, and even switching saddles or shoes can change what works best for you.
Why a Single Formula Isn’t Enough
According to The Seat Height Myth, one reason a simple formula often fails is that each cyclist adapts to height changes differently. A 10mm difference for one rider could be huge, while another might barely notice. And often, it’s the second or third round of refining that really hits the sweet spot.
Key Takeaways
- Body Response Varies: A small adjustment can sometimes feel enormous, or it may feel like nothing at all.
- Frequent Check-Ins: We recommend re-checking your fit regularly, especially after changing saddles, shoes, or experiencing shifts in fitness or flexibility.
- Avoid One-Time Overshoot: Jumping straight to a big increase or decrease based on a formula can mislead your body into an uncomfortable position that’s either too aggressive or too limiting.

Creating a Saddle Position
That Truly Fits You
Focusing solely on seat height ignores other crucial elements. Fore-aft positioning, saddle tilt, and even your saddle’s shape or material can heavily influence comfort and efficiency. For example, shifting your saddle back can offload stress from your knees but might strain your lower back. Adjusting tilt can alleviate pressure in sensitive areas, yet too much tilt forward can cause you to shift in the saddle excessively.
Key Considerations
Fore-Aft:
Tilt:
Saddle Style:
Mastering these variables isn’t about memorizing every angle but adopting a holistic view—recognizing that changes in one area might necessitate smaller refinements in another to keep your entire position cohesive.
Ready for a Fit That Evolves with You—At Home?
If you’re set on an AI-driven, at-home solution that’s just as detailed as an in-person lab session, we’ve got flexible plans to match your goals and budget.
RIDERS EVERYWHERE
Trusted by Thousands of Cyclists Worldwide
![]()
Awesome software!
Was suffering from saddle numbness and pain. No more issues after getting a bike fit through MyVeloFit. Will use it again once I get my triathlon bike
~ Lav L.
![]()
This is a great option
This is a great option to help dial in a bike fit from home. I’ve made upgrades to both of my bikes based on recommendations I’ve gotten through MyVeloFit.
~ Dan S.
![]()
Excellent & Professional
Excellent and professional fitting experience with all the convenience of being at home
~ Shannon F.
![]()
Easy to get set up and great support
Really helped improve my performance. Easy to get set up and great support from team.
~ Nick P.
![]()
So much more convenient
I am very satisfied with the results, and it was so much more convenient to ride at home and upload videos than having to go to a bike shop for a professional fit.
~ Kate M.
![]()
I knew I had to go all in
I was skeptical about an AI-driven bike fit, but after using MyVeloFit has me lower, longer, & more comfortable than I’ve ever been before.
~ Cameron S.
![]()
Get the most out of your rides.
As an online retailer of bikes, ensuring our customers get the right bike size and fit can be a challenge. That’s why we partnered with MyVeloFit. Supported by MyVeloFit, our customers benefit from an independent sizing assessment—and a unique fit score across a range of bikes—to get the most out of their rides.
~ Nomad Frontiers (retailers)
![]()
Incredible!
Your tracking analysis software is incredible by the way, we’re trying to use dartfish and it jumps around all the time.
~ Nick Harris (Coach)
![]()
Astonishing!
What you have developed is astonishing!
~ Pete Pastides. (Browlee Fitness)
![]()
Works really, really well
Their [MyVeloFit] stuff is really, really, good and works really, really well”
~ Tim Cusik (BaseCamp)
![]()
An Excellent Product!
I have been using myvelofit for just over one year in a large bicycle retail shop and I do about six to eight fittings per week. It is an excellent product that in the hands of an experienced fitter generates very in depth information about riding position and ranges of motion, comparable to other fit systems such as Retul.
~ Marco Penna (Bike Fitter)
![]()
~ Ryan Drapper (Bike Fitter)
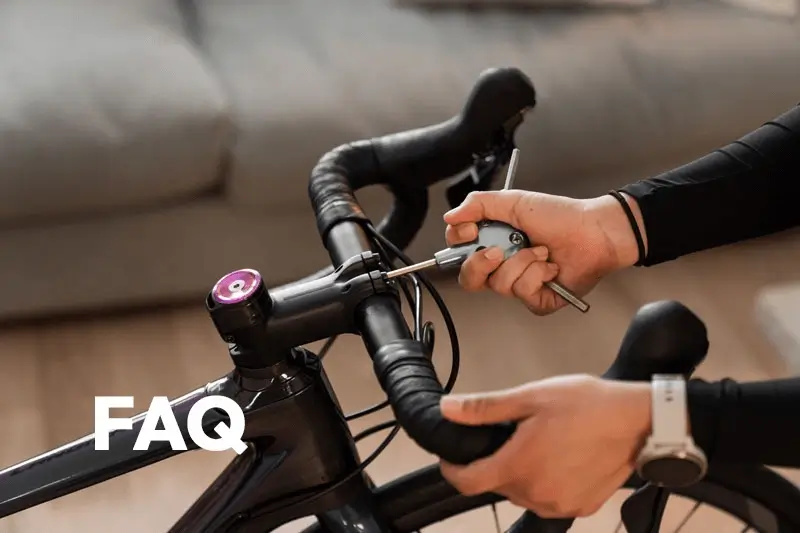
FAQs
- Complete a mobility assessment
- Set goals for your bike fit (bike type and fit goals)
- Record and upload a riding video (on your trainer)
- Analyze results & make adjustments
- Adapt to changes
Adjusting Your Saddle Made Simple
Step 1
Profile &
Mobility Check
Step 2
Capture
& Upload
Step 3
AI-Powered
Analysis
Step 4
Personalized
Recommendations
Step 5
Iterate
& Adapt

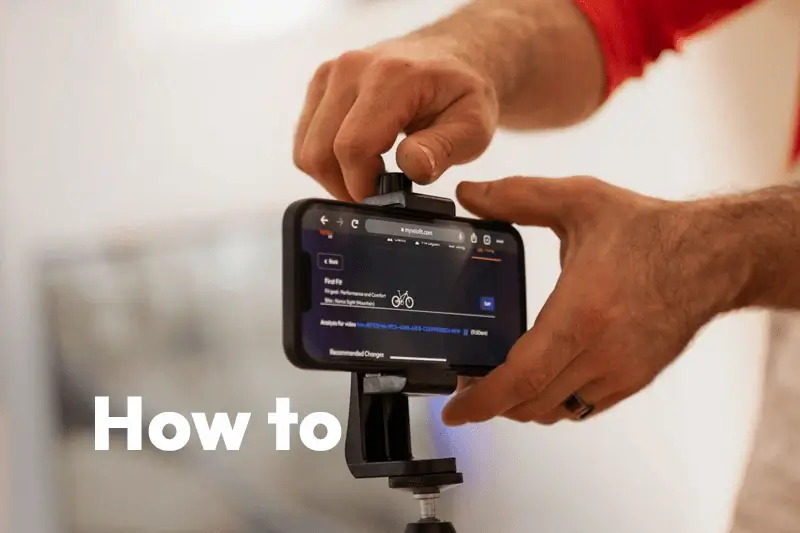
Walk Through the Process with Our Comprehensive Guide
For a deeper look at the entire journey—setup, filming, iteration—see “How to Get a Perfect Bike Fit Online with MyVeloFit.” This blog post covers everything from essential pre-ride checks to analyzing your results and making iterative improvements.