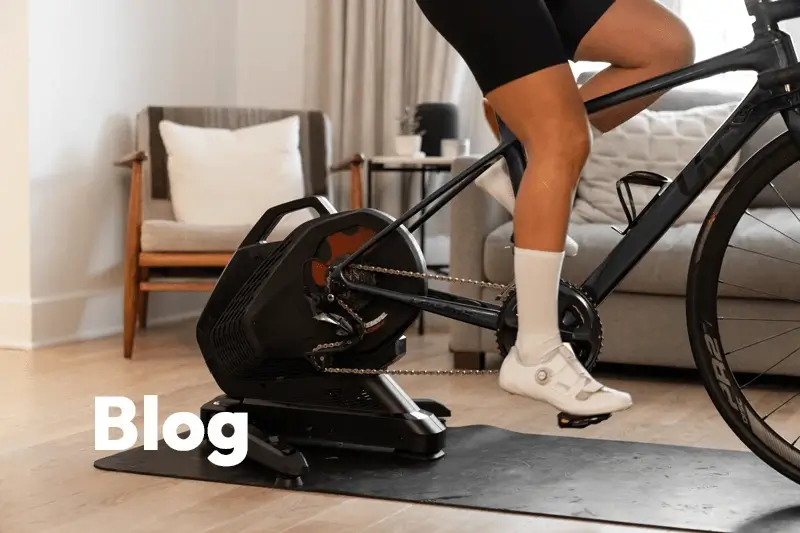
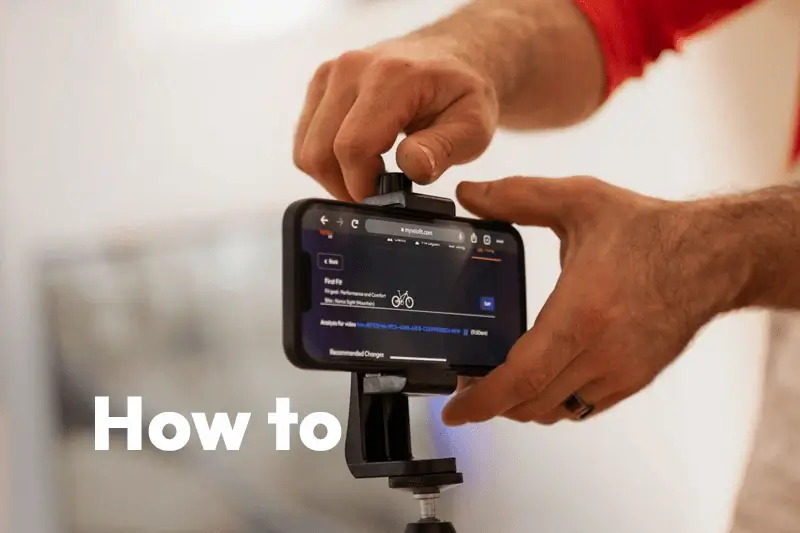
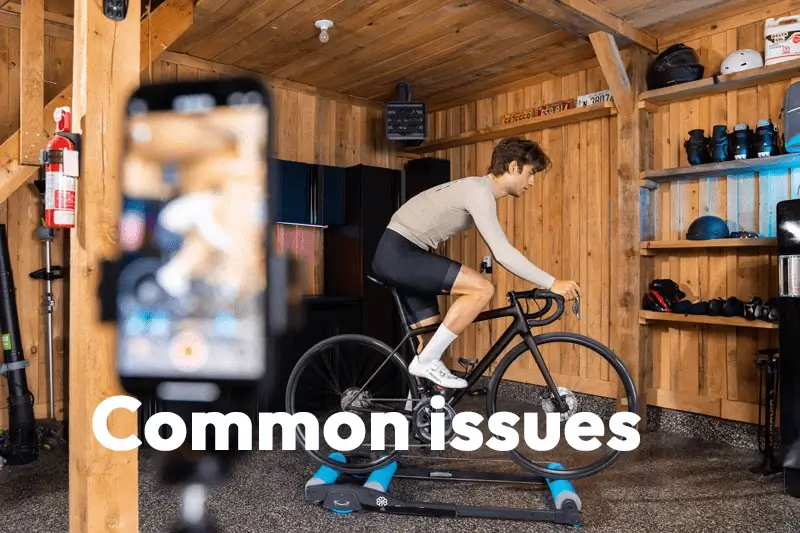
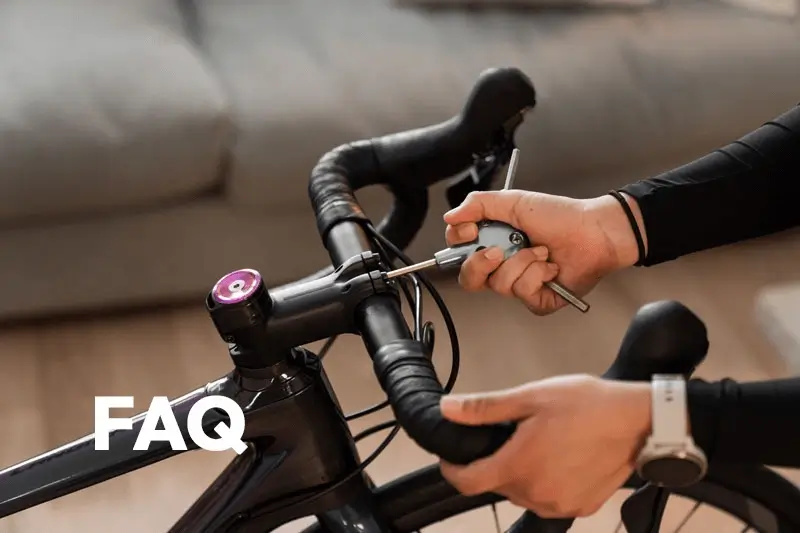
MyVeloFit’s technology is pretty easy to use, but following the tips below will help you get the best results when getting setup for your bike fit. There are three main components to your bike fit setup with MyVeloFit:
- The Rider (you)
- The Setup (your bike, trainer, room, and camera)
- The Video (what we analyze)
We’re going to go over our key recommendations for each below, but don’t worry if you miss anything, we’ve got reminders during the fit process if you need a refresher.
The Rider
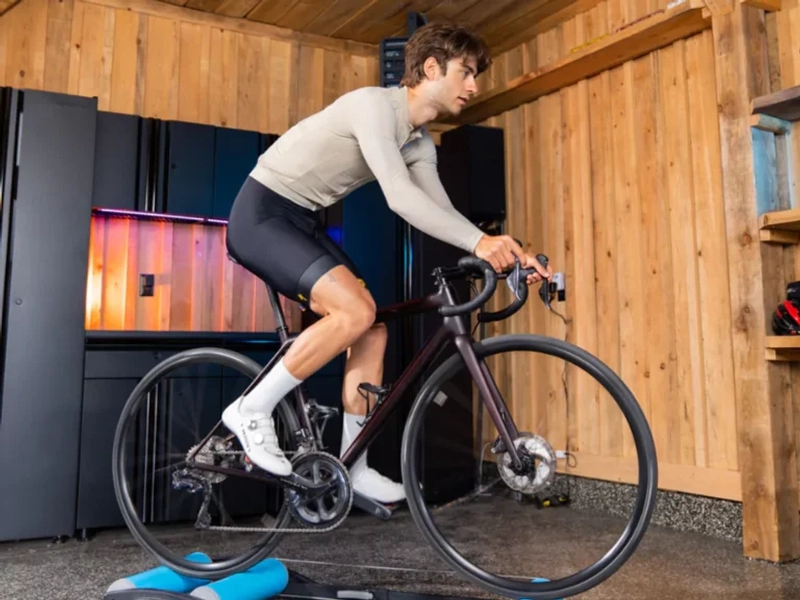
While it’s called a bike fit, the focus of the whole process is really on you, the rider. With this in mind, there are a few things you can do to make sure you’re getting the most from your fit.
Assess Your Mobility
Whether it’s our AI-based video assessment or our mobility questionnaire, completing a mobility assessment is critical to getting fit results that are specific to you. Your mobility plays a significant role in what riding positions will work for you and we tailor all our recommendations accordingly.
Dress The Part
- Whatever clothes you wear to ride is often a great start for your fit. While very tight fitting clothes, like spandex bike kit is great, any snug fitting athletic attire will do the trick.
- Avoid lots of black. We know everyone loves black, but it can create issues with contrast between body parts in the video. So when in doubt, avoid two pieces of black clothing next to each other. Black shorts? Wear a different jersey. Black shoes? Wear coloured socks.
Get Warmed-Up
- Getting a bike fit is about adjusting the bike to suit your needs while you’re riding. Your body will move slightly differently once you’re warmed up than if you just hop right on the bike. We want your fit to suit your whole ride, not just the 5 minutes at the start, so take 10-15 minutes to warm-up before starting your fit.
Hand Position Matters
- Where you place your hands on the handlebar can make a big difference in your overall position on the bike. MyVeloFit can analyze your position no matter where your hands are, BUT our recommendations are based on what we call an “all-day position”. For bikes with a flat handlebar like an MTB or a hybrid this is pretty clear, but on drop bar bikes be sure to place your hands on the hoods.
- Don’t move your hands. We can only analyze one hand position per video. If you move your hands during the video, your results are unlikely to be reliable.
Just Pedal
- Pedal at a normal cadence (85-95RPM for most). We know it might be tempting to slow down to make sure the camera catches it all, but this isn’t how you pedal out on the road so it’s not how you should be fit.
- Put some resistance on the trainer. Similar to your cadence, your fit should be analyzed as close as possible to your normal riding conditions. So after you’re warmed up, pick a resistance that requires some effort but is still comfortable.
The Setup
Your setup can make a big difference in the quality and consistency of your fit results. There’s no need to do anything fancy, just a little attention to detail goes a long way.
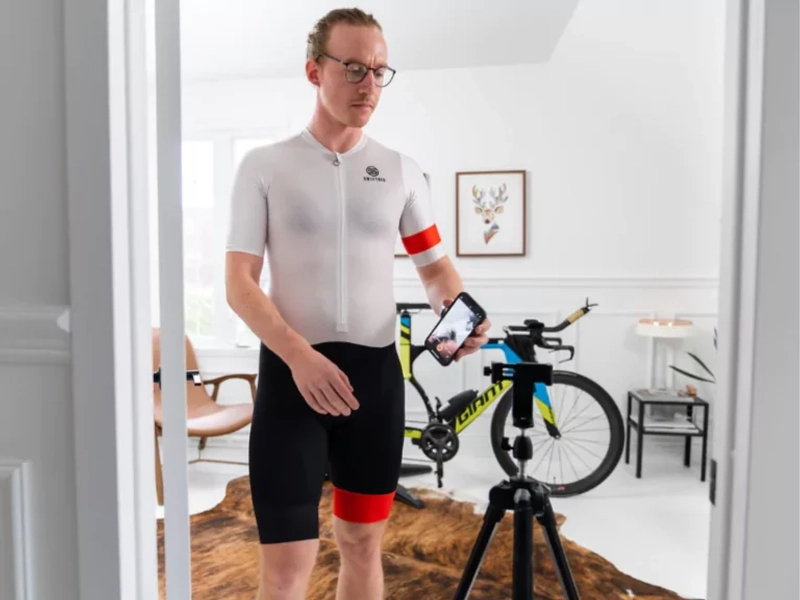
Your Bike & Trainer
We can fit almost any bike, on any trainer (or rollers), but there are a few details that will help.
- Level the axles of your bike. Having your bike level is the best way to ensure it will be level with the camera.
- Choosing a mostly level surface, and measuring the distance from the ground at both axles is the best way to check this. If one axle is lower than the other, find something to put underneath the front wheel or trainer to help raise it to the correct height. It doesn’t have to be perfect, just close.
The Camera
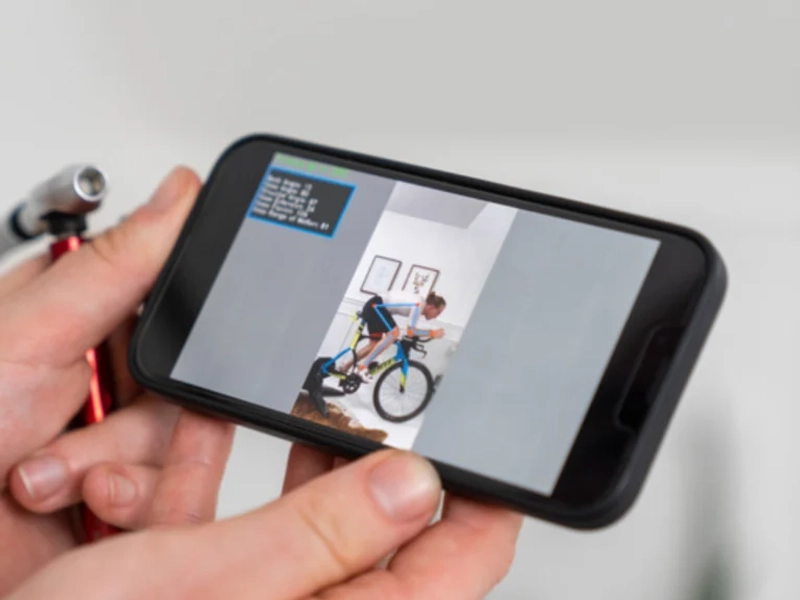
Proper camera placement and settings are key to a reliable bike fit. MyVeloFit is designed to be able to process video from most sources, however we’ve found that phones, tablets and USB webcams work best. For full details on your camera setup checkout our Setup Instructions.

Repeatability Is Key
- The height, distance, and angle of your camera can have an impact on your results, so paying a little attention goes a long way. Take note of your camera and bike positions so you can take another video from a similar position in future. It doesn’t have to be perfect, but the more consistent the placement, the more consistent the results.
Camera Distance
- Your camera needs to be far enough away that your entire body (including your head) is in the frame at all times. If any part of your body leaves the frame we can’t track it. For most cameras, this is >3m/10ft away from the rider.
Camera Height
- Ideal camera placement height is around the same height as the saddle of the bike being recorded. This is generally >1m/3ft off the ground.
Camera Angle
- Avoid angling the camera. It should be level (with the axles of the bike), square and centered on the rider (halfway between the bikes axles), and straight (not tilted up or down).
Background
We’re not generally picky on background, but there are a few things you can do to avoid issues:
No Other People
- No other people, photos of people, or mirrors that have people visible can be in the video. Our AI will see them, and we can’t make any promises after that.
Increase Contrast
- The background should ideally be a different color than both your skin and your clothing so our AI can easily pick you out at all times.
Reduce Clutter
- While a blank wall would be great, any background with minimal clutter is best.
Lighting
It is important to have enough light that your video analysis isn’t affected by shadows or a lack of contrast. This is especially important if your clothing is a similar colour to either your bike or the background. If your analysis is confusing your legs or tracking something it shouldn’t, your lightning is likely the issue.
Light the rider
- Lots of ambient light is ideal, though placing light sources from the same direction as the camera is the best way to get consistent results. Be careful with spot lightning as it can create heavy shadows.
- Significant lighting from behind the rider (pointing toward the camera) can cause issues with contrast. For this reason we recommend avoiding positioning the rider in front of large windows.
The Video
Once you have yourself and your setup figured out, recording a video is the easy part. There are a few guidelines you’ll need to follow to get great bike fit results:
Use “Normal” Video Settings.
- Avoid the use of wide angle lenses or views (e.g. 0.5x) and video settings as they distort the image and cause issues with your results.
- Slow motion settings limit the amount of data the software collects on your pedal stroke, reducing accuracy.
- While 4k video is great, we’re going to compress is anyway so save yourself some upload time and record in resolutions like 720p or 1080p.
Trim the Video
- If you’re using our built-in camera, just follow the instructions and we’ll only record what’s important.
- Uploading your own video? Trim the video to only include you riding the bike, not getting on or off. We recommend taking 20-30 seconds of video and then trimming to the middle 10-15 seconds of riding to submit for your analysis. It’s very easy on most modern devices to trim a video. Here are detailed instructions for Apple and Samsung phones.
Now that you’re all set up and ready to get started, it’s time to record yourself riding, get the results, and make some changes to your fit (if needed). If you’d like to understand your results a bit better, we recommend checking out our Sample Fit Report, and to save yourself some time, we also have a recommended order for making your adjustments.
Bike Fit Setup Takeaways
We’ve thrown a lot of info at you, but these are the key setup takeaways for a great fit:
- Start with a mobility assessment. Personalized fit results rely on your mobility.
- Place your camera properly and consistently. It needs to be far enough away to see the whole rider, around saddle height, square (to the rider), and level (with the axles of the bike).
- Ride like normal. Warm-up, put your hands in their “normal” position, have some resistance on the trainer, and pedal at a natural cadence (85-95RPM).
- Follow our fit process: Record, Analyze, Adjust, Repeat
- Record and upload a video of you on the bike. Use normal video settings, no wide angle or slow motion.
- Follow our adjustment process. Start with the saddle, don’t make front end adjustments until your saddle is “in-range”.
- Repeat until your recommended adjustments are all “in-range”. On average this takes riders 3-4 video uploads and rounds of adjustment..
Go ride. If after a few rides you are still uncomfortable, you can start to experiment with different positions within your recommended ranges.
Have more questions? Don’t be afraid to reach out to our support team (support@myvelofit.com).
Additional Resources
- Finding The Perfect Riding Position: Balancing Goals In Bike Fit
- How To Get A Perfect Bike Fit Online With MyVeloFit
- MyVeloFit’s Bike Fit Report Explained

