
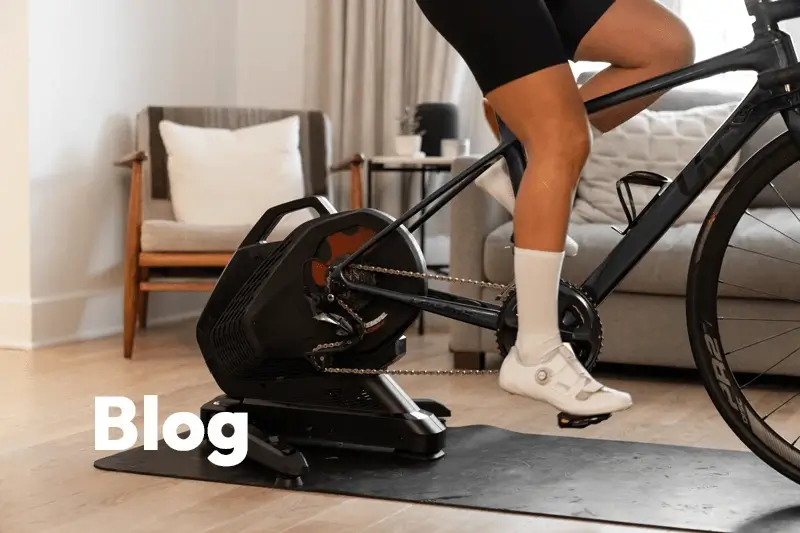


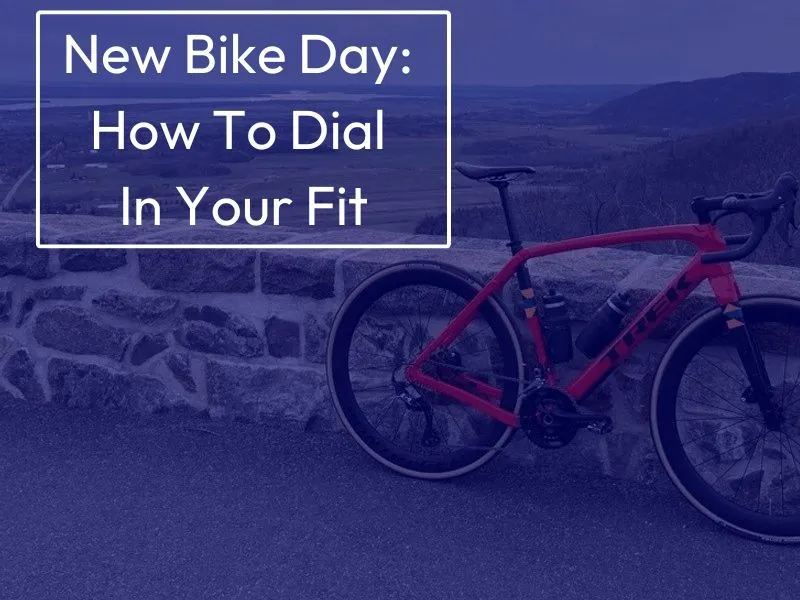
New bike day is just as exciting for us here at MyVeloFit as for anyone else. I thought as a way to celebrate my new bike day I’d bring you along the journey of dialing in my position on my Trek Checkpoint SL 5. I can already hear some of you asking “surely if you run a bike fit company you already know your setup?” Well, kind of. If I had wanted to just replicate my position from my previous bike, we’ve written up a great method for doing so. But I wanted to take this opportunity to start from scratch.

Getting from buying a new bike to being comfortable on the first ride has never been easier.
I’ve opted to test out a slightly more upright position that I have in the past (more on this in future posts). So I threw my previous fit measurements out the window (not literally of course) and started fresh to see where I ended up. The process I took looks a little like this:
New Bike day Steps
- Create a Blank Slate
- Find a Starting Position
- Completing My Bike Fit
- Get Out and Ride
In this post I’ll take you along my journey of setting up my new bike, and hopefully provide some insights on how you might be able to do the same.
Create a Blank Slate
What everyone should know is that the bike I (you) just bought should be completely safe and properly adjusted mechanically, but may not be ready to ride. Before starting any bike fit journey, we always recommend every rider sets their bike up to be a blank slate, and I’m no different.
What this means is taking a little time to get all the touch points on your bike into a neutral position so you’re not working against any less than ideal adjustments that may have been made to your new bike when it was getting built (either from the factory or at the shop). You may get lucky and find it takes very little to get you to this point, but it’s always worth checking and is a critical step not to skip. While these adjustments may seem small, they can make a world of difference when dialing in your fit later.
The steps I always take when starting to set up a new bike are as follows:
Shoes and Cleats
Set up shoes and cleats (if you’re on clipless pedals)
Set a starting handlebar rotation
- For me: with the drops level, or pointed slightly down
- Checkout our full post on bar rotation and hood positioning
Set hood/lever position
- For me: tilted slightly up and inward
- Basic: Level with each other, slightly up, and straight (NOT outward)
Level, Straighten and Centre Your Saddle
- Check out full post on setting saddle tilt
Once these steps are complete we’re ready to really dig in.

Finding a Starting Position
As I mentioned, I’m starting fresh on this bike and wanted to forget about all the previous fit measurements I typically use. So where do I start? The first step is finding a starting position, ideally as close as possible to where I think I might end up. Getting it perfect isn’t the goal, just close.
***If you have a position you’re already comfortable with, start there. No need to start fresh***
MyVeloFit’s Virtual Fit First Sizing starts with an AI body scan.
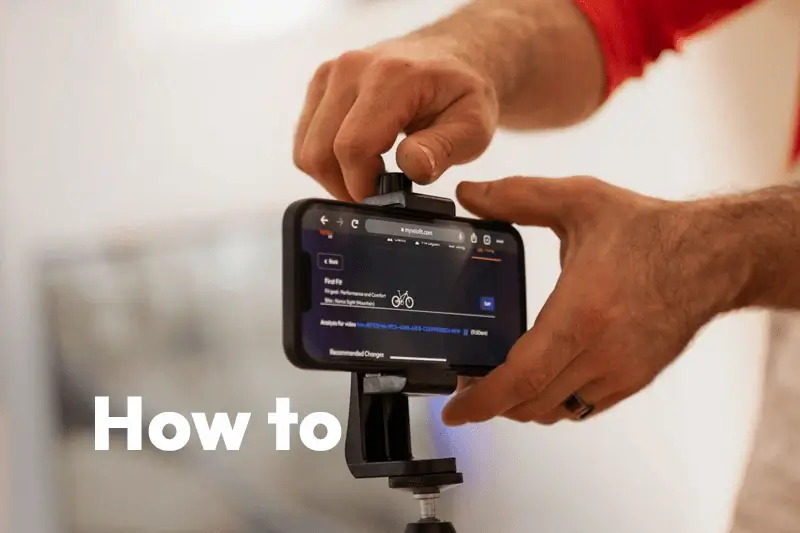
To do this I relied on MyVeloFit’s Virtual Fit First Sizing tool. The first step in this process is to complete the AI body scan, where you take a short video of yourself standing and turning around on the spot twice. This measures your body segments and then helps match you to a database of bikes to find the ones that fit you best.

Use MyVeloFit’s Virtual Fit First Sizing to pick the right model and size every time.
Once I had selected the bike I wanted (Trek Checkpoint SL 5, size 56), I added that bike to my compare page (see below) to dig in a little deeper to the setup. Where this tool comes in super handy is that it provides a set of “Initial Setup” measurements. This includes a starting saddle height and the height of stem spacers needed to get close to my target position. In this case, I have opted to go for a “Balanced” gravel fit goal, which should provide me with the fairly neutral riding position I’m looking for. So, with the measurements I needed (750mm saddle height, 30mm spacers) I can get my bike setup to start the fit.

MyVeloFit’s Virtual Fit First Sizing compare feature gives you a great starting position
Completing My Bike Fit
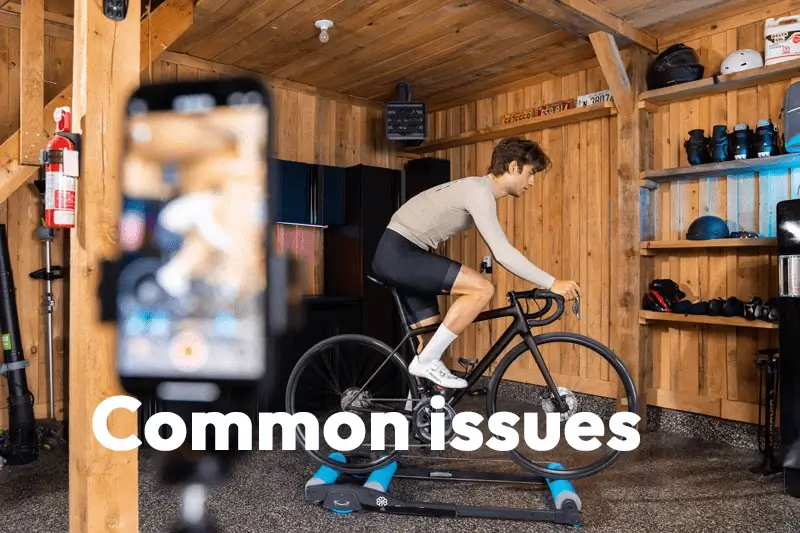
At this point I’ve got a starting position set on my bike and it’s time to work my way towards my final riding position. For this part of the process I’ll rely on MyVeloFits Bike Fitting tool to help me dial in my position.
I get my bike on the trainer, do a quick warm up (always warm up before your fit), and start recording. My first video analysis looks great. I’ve chosen a “Performance and Comfort” fit goal which aligns with my goal to achieve a slightly more relaxed position than I’m used to. Great news, looks like I’m “In Range” with my target fit window across the board… with the exception of my back angle.
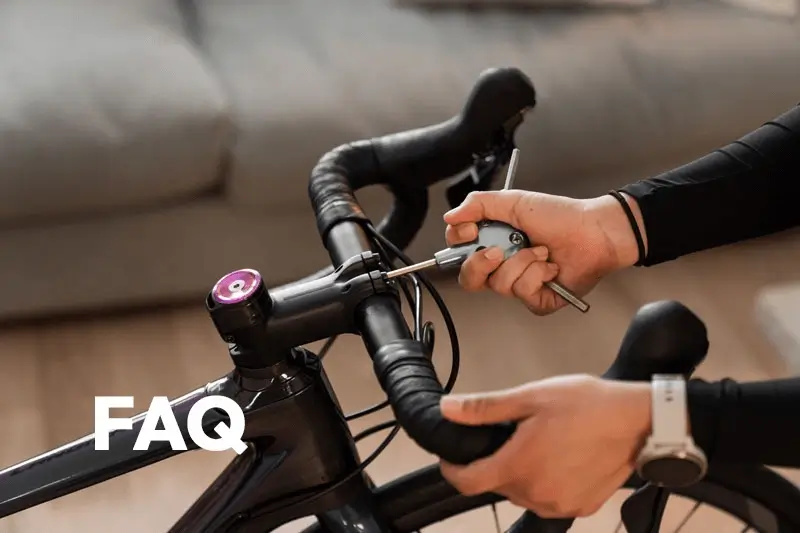
This doesn’t come as a complete surprise to me as this new position didn’t feel too far off from my previous bike setup, which generally aligned with the “Performance” fit goal. Now, if I had been truly committed to finding a much more relaxed riding position I may have gone ahead and raised my stem. Alas I am also subject to my own biases, so seeing as this position was still more upright than I was accustomed to, I decided to stick with it and see how I adapt. Needless to say this doesn’t mean I didn’t make any adjustments from my initial setup. Knowing my overall position was generally where I needed to be, it was time to dial in the details. The changes I made to my fit were relatively minor, but made a notable impact on my overall comfort. While the position I was in after the “Initial Setup” was perfectly rideable, I can’t ignore my preferences after many years riding. So this is what got changed:
Hood Angle
Though I had done my best to create a “blank slate” with my bike, once I was on the bike it felt as though my hands were sinking forward into the hoods a little too much (very subjective). By slightly raising my hoods this helped resolve this feeling and put my wrists in a much more natural position. Hood angle can make all the difference in hand and wrist comfort.
Saddle Tilt
After starting with a relatively level saddle, I decided to slightly raise the nose of my saddle. The saddle I ride (Bontrager Aeolus Elite) kicks up a little at the back, which I find can lead to the feeling of sliding forward on the saddle if not set correctly. With a minor adjustment, this sensation disappeared. Saddle tilt and fore-aft are powerful ways to fine tune you riding position
Saddle Fore-Aft
Starting with my saddle fore-aft in the middle of the range on the saddle rails I found that I was placing a little too much weight on my hands (which can be a sign of a saddle that’s too far forward). My fit analysis confirmed I was toward the front of the recommended Fore-Aft range, so moving the saddle back was a reasonable option and should help relieve some pressure. After shifting my saddle all the way to the rear of the rails, I could certainly notice a reduction of pressure on my hands. This is something I’ll play with over the season, and may even consider a greater setback seatpost to explore the impacts.
Saddle Height
Though I promised to forget my previous fit measurements, I knew that a saddle height of 750mm was lower than what I was used to (I typically run my saddle closer to the upper end of my acceptable range). This was confirmed by my fit analysis indicating my Knee Extension (KE) angle was near the upper end of the recommended range (KE is inversely related to saddle height). Despite feeling quite low initially, I was surprised at how quickly I forgot about the new lower saddle height. Needless to say, that voice in the back of my head telling me to raise my saddle got the better of me and I ended up raising it 10mm. This is still slightly lower than I have previously ridden and the analysis indicated I was firmly within my target fit window. The results of my bike fit… for now.
Go Ride
All the data in the world can’t replace how your bike feels to ride. Riding is always a critical step to dialing in your position, especially when it comes to minor tweaks and adjustments. For me, I usually find this is where I make any final changes to saddle tilt and fore-aft as well as small adjustments to my hoods (as was the case here as well). At this point, my position feels great, but being out on the road always feels just a little different than riding on the trainer.
It may also not be immediately obvious if or what adjustments are needed here, so taking a couple rides to really get a feel for things is the best approach.
What’s Next?
As my bike fit journey is never complete there is always something else to tackle. For now taking detailed measurements of my position so I have a record of this fit is the first step. At the very least, if anything were to slip or get moved out of position I don’t have to guess or repeat the process. I’m going to track how this new position achieves the goals I had set out to chase (more comfort over longer rides and more control in the drops when the going gets rough). This is quite subjective so time in the saddle is all that’s needed.
Additional Resources
- The 4 Bike Measurements Every Rider Needs
- Best Ways to Adjust Reach on your Bike
- Here’s a how-to on DIY bike fitting for more comfortable cycling