Finding the right position on your spin bike is a key step to being comfortable, improving performance, and most importantly avoiding injury. An improperly adjusted spin bike (like any bike) is likely to impact your enjoyment and, with time, put you at risk of injury.
Getting a bike fit is the best way to find the right position for you, one that reflects your personal mobility and riding goals. in this post we will cover 5 steps to set up your Peloton and other spin bikes.
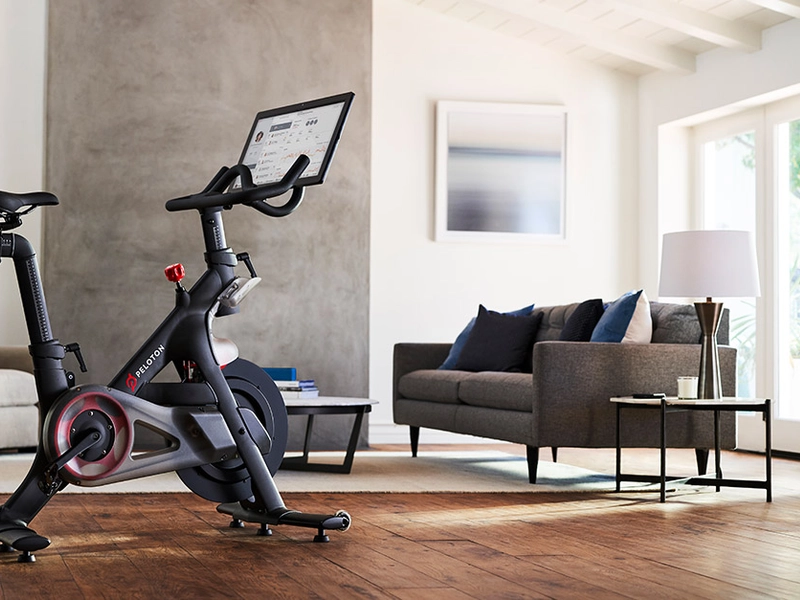
Set up your Peloton and other spin bikes in 5 steps
This article will outline the 5 key steps you should take to fit your spin bike so you can have the best indoor cycling experience possible.
- Adjust Your Shoes & Cleats
- Set Up Your Peloton Seat Position
- Set Up Your Handlebar Height
- Adapt to Your Position
- Check-in On Your Fit
Get Warmed Up
Before getting started with your bike fit it is important to get warmed up. The goal of a bike fit is to help you find the best position for you when riding your bike. Like any activity, you always move a bit differently once your muscles are warmed up as compared to when you first get going. So be sure to spend 5-10 min on the bike warming up before jumping into your fit.
#1 – Adjust Your Shoes & Cleats
How your feet interact with your bike is often overlooked, but an important part of your fit. Making sure you have properly fitting shoes and supportive insoles can make or break your riding experience. If you’d like to learn more about setting your feet up for success, check out our post on Feet Before Fit.
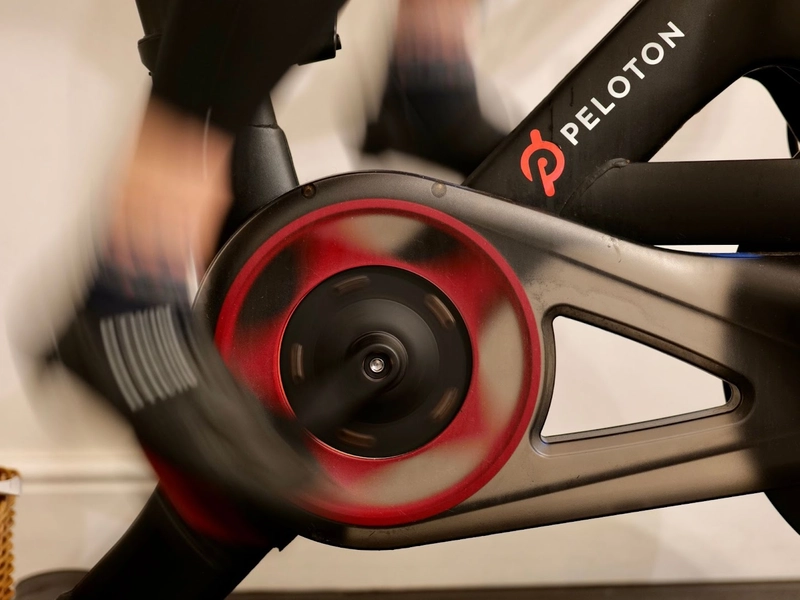
Shoes and cleats are the first step for success with fitting your spin bike.
When it comes to adjustments, ensuring proper cleat placement is the first place to start. Poorly adjusted cleats can lead to knee pain and injury, as well as forcing your feet and calf muscles to do more work than they should.
The right cleat position will allow you to pedal smoothly, without placing lateral strain on your knees, and ensure you’re helping to engage the right muscles in your legs for the best results.
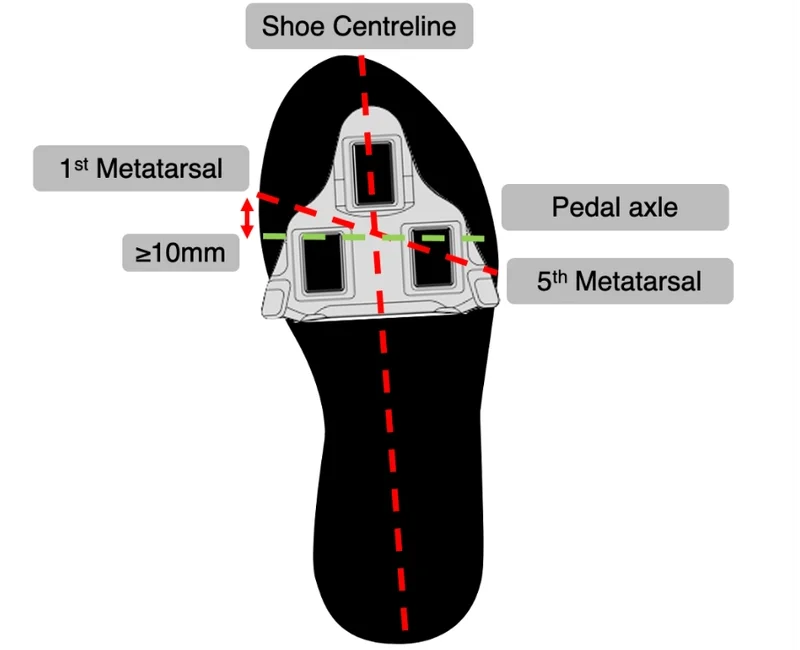
Adjusting cleat position can improve performance and help avoid pain and injury.
We recommended placing your cleats such that the pedal axle sits between your foot’s first and fifth metatarsals. Check out our article on cleat positioning for a full explanation of how to go about this, it’s quick and easy. As your cleat position will impact your seat height, it’s important to make sure they’re set up before getting into the rest of your fit.
While you may need to fine tune cleat rotation later in your fit, getting the general position set first is a must.
#2 – Set up Your Peloton Seat Position
Your seat position is the foundation of your overall position on the bike and is comprised of three key adjustments:
- Seat height
- Seat fore-aft
- Seat tilt
Because these adjustments interact with each other, we recommend starting with height, then adjusting the fore-aft and finishing with tilt.

Key seat adjustments to set up your peloton or other spin bikes.
Seat Height
Seat height primarily impacts your leg extension through the bottom of the pedal stroke. Too much extension is the most common cause of discomfort and injury while cycling. Our article The Seat Height Myth goes into more details about the breadth of issues caused by excessive seat height.
While there are lots of quick rules of thumb out there to set seat height, in our years of experience none of them tend to reliably get good or predictable results. Setting a seat height that works relies on a rider’s proportions, their mobility, and their riding goals.
The best way to find the right seat height for you is through a dynamic analysis that helps find the right height based on your movement while pedaling. The result is a seat position that:
- Provides strang, stable platform for pedaling
- Improves comfort by property distributing pressure across the seat
- Helps prevents injury by avoiding end ranges of motion
- Promotes balanced muscle recruitment to improve your performance
Get started on finding the right seat height with our FREE dynamic bike fit check.
If you have no idea where to start on seat height here, is a quick method that will get you somewhere in the ballpark before embarking on your fit.
- Get on your spin bike
- Rotate your cranks until one pedal is at the bottom of the pedal stroke (~6 o’clock)
- Place the HEEL of your foot on the pedal
- Adjust the seat height until your leg is straight (knee locked out) with your heel still on the pedal.
- Lower your seat 15mm from the position above

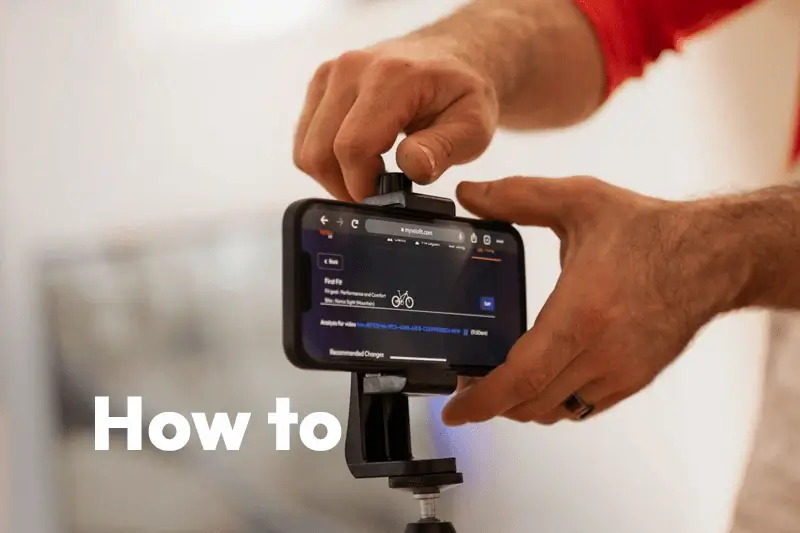
Setting seat position with dynamic video analysis – MyVeloFit
Seat fore-aft
The fore-aft position of your seat will largely help determine where your center of gravity is placed on the bike. While this may not sound terribly important on a spin bike, it has a noticeable impact on how much weight you place on your hands. A seat position that is too far forward may cause you to place too much weight on your hands.
A rearward seat position can result in feeling very stretched out on your bike and can cause impingement in your hip. The correct fore-aft position will help you feel balanced on the bike without relying on your hands to hold you up.
Get started on finding the right seat position with our FREE dynamic bike fit check.
Seat tilt
Finally, the tilt of your seat will help you to spread the pressure of sitting on the bike evenly across the surface of the seat to maximize comfort and blood flow. For a full explanation of how to set your seat tilt check out our seat Tilt 101 post. But for a quick primer you can start with these steps:
- Always start with your seat level
- Set your height before tilt
- If you experience perineal pressure or numbness, SLIGHTLY tilt the nose down. Repeat as necessary.
- If you find yourself sliding forward off the seat, SLIGHTLY tilt the nose back up.
- If you end up with a forward tilt >3° you should likely reduce your seat height.
- Avoid placing the nose of the seat higher than the rear. This may be an indication that a different seat shape may be necessary.
#3 – Adjust Your Handlebars
Once your seat position is set, the next step is to set your handlebar height and reach. The position of your handlebars will have the greatest impact on your upper body position; how upright or bent over (often referred to as “aggressive”) your riding position will be.
More upright riding positions are more comfortable for many riders as they place less strain on your core. However, more aggressive riding positions (similar to those used on road bikes) tend to allow for a wider range of muscle recruitment and will allow riders focused on performance to put more power through the pedals.

Many riders will start with a more upright position and lower their handlebars over time as they build strength and mobility. We recommend starting with your handlebars around the same level as the seat (or a bit higher), then tweaking to your comfort.
Get started with a FREE Dynamic Bike Fit Check to find the right handlebar position for your riding goals.
Unlike with your seat position it is ok to adjust both the height and reach simultaneously. Some spin bikes, like the Peloton Bike, only have a height adjustment which simplifies the process but limits the range of adjustability. Luckily the handlebars offer a wide range of hand positions so you can adjust your reach to taste.
#4 – Adapt To Your Fit
Finding the right position on the bike is both a matter of adjusting the bike to you and allowing your body to adapt to the position. A common complaint after getting a bike fit or making significant adjustments to your position is that it feels weird or wrong. This is especially the case when riders have been riding in their previous position for a long time.
Our bodies are fickle and like with anything new can take time to adapt. It is not uncommon after a bike fit to take one to two weeks of riding to really notice the improvements and to feel more at home on your bike. Minor aches and pain can be a normal experience during this phase as you’ve altered your muscle recruitment patterns. This is especially true if major changes have been made.
Get started on finding the right position on your bike with our FREE dynamic bike fit check.

Adapting to a new bike fit can take 1-2 weeks of riding.
However if you experience significant pain after making the adjustments we recommend following up with a professional to help double check your position as there may be issues specific to you that are needed. MyVeloFit offers Expert Reviews for riders that can benefit from the experience of a professional fitter at identifying unique issues.
#5 – Follow-Up with Your Fit
You should think of your position on your spin bike like your training plan, it’s likely to change over time to adapt to your changing goals and fitness. We recommend you check in on your position at least twice a year or more frequently when you experience any significant fitness, mobility or weight changes.

Improve your bike fit experience with strength and mobility routines – Dynamic Cyclist
Though it would be nice, a proper bike fit is not always the entire solution to being comfortable and injury free when riding. Working on your strength and flexibility off the bike is an important part of taking care of your body. The nature of cycling means it contributes to a few common issues, which is why we often recommend cycling focused strength and mobility routines to help counteract this. If you don’t already have a routine that works for you, we’ve had great success with the Dynamic Cyclist who provide excellent daily routines.

